Quickstart
For Agents
For agents that sign themselves up programmatically, no Console or dashboard needed. The agent registers itself using an email you provide and receives an API key in response. This flow is for first-time users only: human email addresses already signed up with AgentMail will not work here.
Sign up
The agent registers itself using the human email you provide and gets back an API key, inbox ID, and organization ID. An OTP is sent to that email.
The sign-up endpoint is idempotent. Calling it again with the same email rotates the API key and resends the OTP if expired.
For Humans
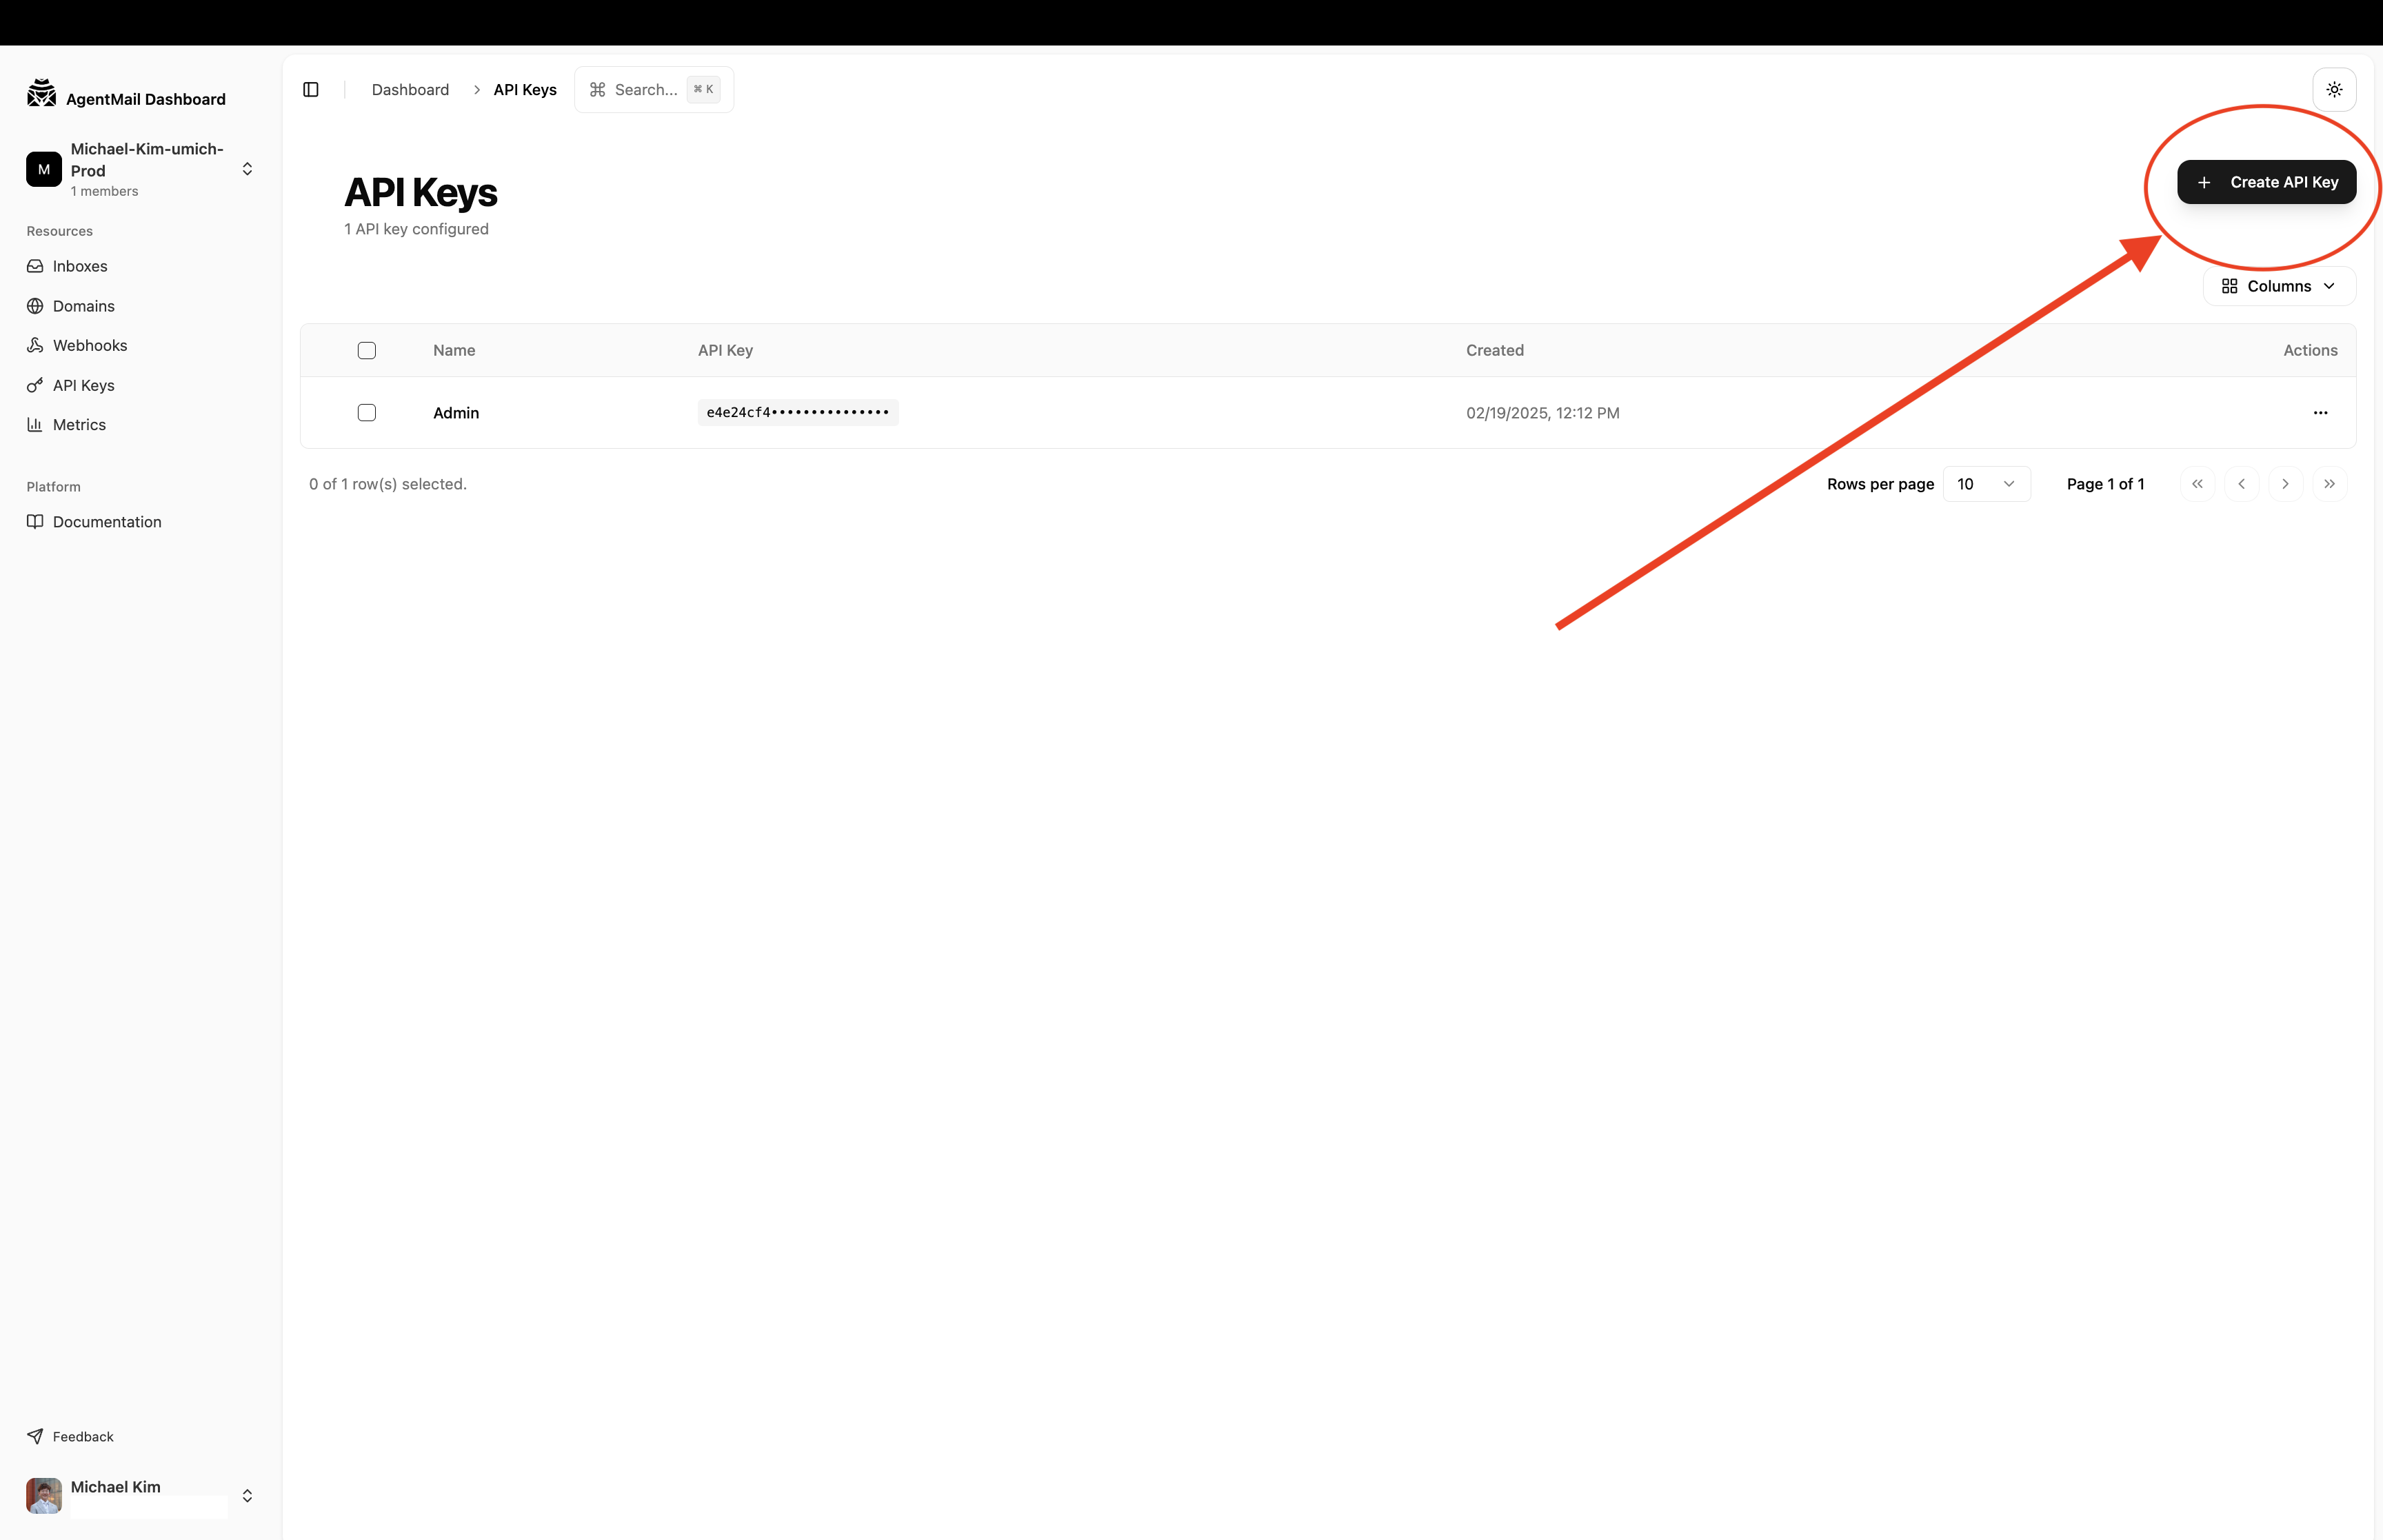
For developers who want to try AgentMail from the Console.
Sign up and get an API key
Go to the AgentMail Console, create an account, and generate an API key from the dashboard.
Store your API key
Create a .env file in your project root and add your key:
We recommend using environment variables to keep your keys secure.
Install the SDK
Install the AgentMail SDK using your preferred package manager. We’ll also
use a library to load the environment variable from the .env file.
Create an inbox and send an email
Create a new file (e.g., quickstart.py or quickstart.ts) and add the
following code. This script initializes the AgentMail client, creates a new
inbox, and sends a test email.
The domain parameter is optional. If not provided, AgentMail will
use the default @agentmail.to domain. If you would like a custom domain, please upgrade to a paid plan.
Copy for Cursor / Claude
Copy one of the blocks below into Cursor or Claude for a complete, working AgentMail integration. Each block includes setup, API reference, error handling, rate limiting, and idempotency guidance.
When receiving emails, messages include extracted_text and extracted_html
for reply content without quoted history.
Next Steps
You’ve created an inbox and sent your first email. Now set up your agent to receive and respond to incoming messages:
The fastest way to receive emails. No public URL or ngrok needed.
Get real-time HTTP notifications when emails arrive.
Build a complete conversational agent workflow.
Explore the full API with interactive examples.
Looking for a different language? Email us at support@agentmail.cc and we’ll get you set up.